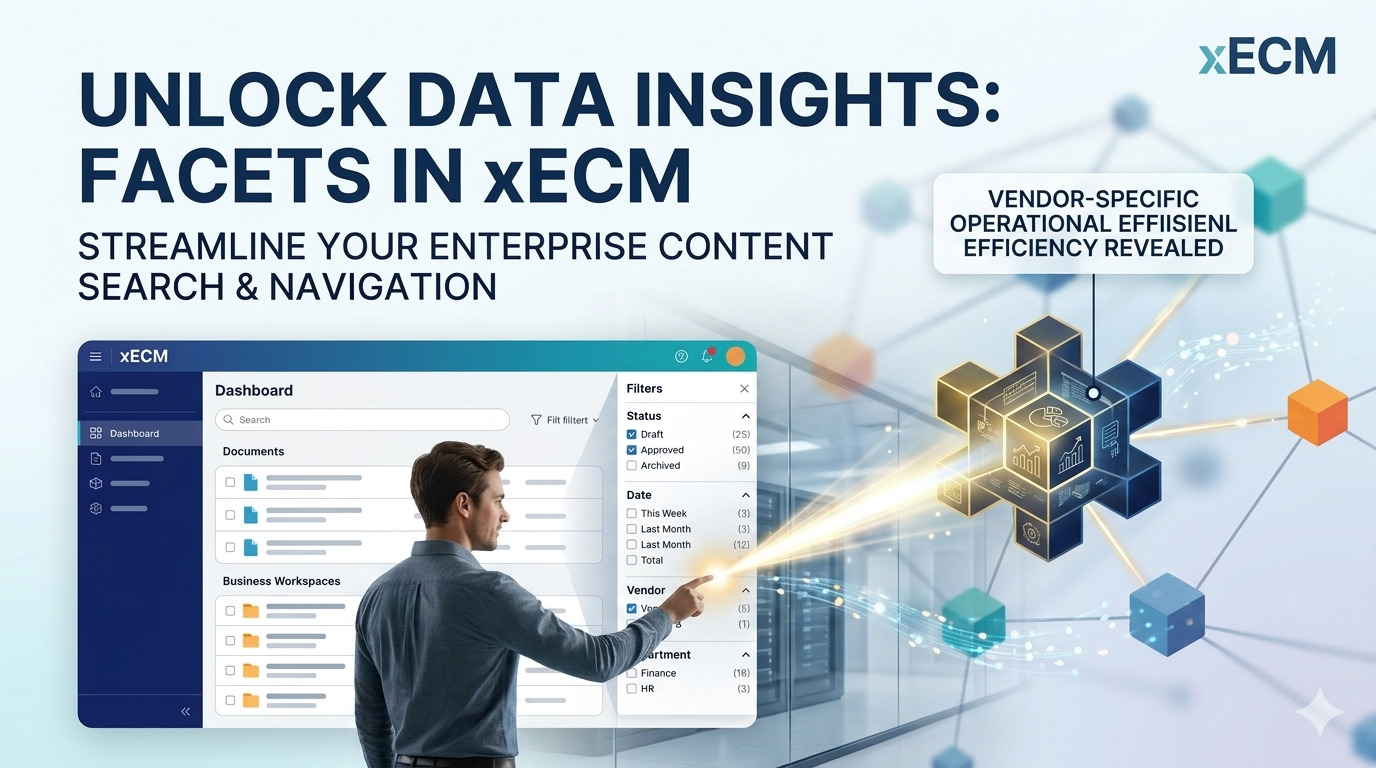
Facets are dynamic filters that appear alongside search results. They allow users to narrow down results based on specific metadata fields or system properties.
Types of Facets:1. System Facets
These are built-in facets based on system properties.
Examples:
• Object Type
• Owner / Created By
• Modified Date
• File Size
2. Category (Metadata) Facets
These are based on custom metadata categories assigned to documents.
Examples:
• Project Name
• Department
• Document Status
• Client Name
3. Custom Facets
Administrators can configure custom facets to provide more targeted filtering.
Examples:
• Workflow Status
• Approval Stage
• Custom Business Attributes
Step-by-Step Configuration of Facets and Facet Tree in Content Server
Step 1: Configure Facets
First, you need to configure the facets in Content Server.
Steps:
1. Navigate to:
2. Enterprise → Facet Volume
3. Click on:
4. Add Item → Facet
5. Provide the required details:
o Name of the facet
o Select the Data Source (this defines what kind of filter you want)
Examples:
Category attributes
System attributes (Owner, Created Date, etc.)
6. Save the facet configuration.
Step 2: Create a Facet Tree
Once facets are created, you need to organize them into a Facet Tree, which controls how they appear in the UI.
Steps:
1. Go to: Enterprise → Facet Volume
2. Click: Add Item → Facet Tree
3. Open the created Facet Tree and navigate to:
4. Specifics → Facet Tree Definitions
5. Add the previously created facets to this tree.
Step 3: Configure Facet Availability
Now define where and to whom these facets should be available.
Steps:
1. Inside the Facet Tree, go to:
2. Specifics → Availability
3. Configure:
o Locations (folders, volumes, search areas)
o Users or groups who should see these filters
🔹 Step 4: Add Custom Columns (Optional Enhancement)
You can also configure custom columns to display additional metadata.
Steps:
1. Navigate to:
2. Enterprise → Facet Volume
3. Go to:
4. Columns
5. Create a new column:
o Define column name
o Select data source (category attribute or system field)
o Configure when and where it should be displayed
Step 5: Apply Columns to a Location
After creating columns, you need to apply them to a specific location.
Steps:
1. Navigate to the desired folder/location
2. Click:
3. Properties → Columns
4. Update the column settings:
o Add the newly created custom columns
5. Save the changes